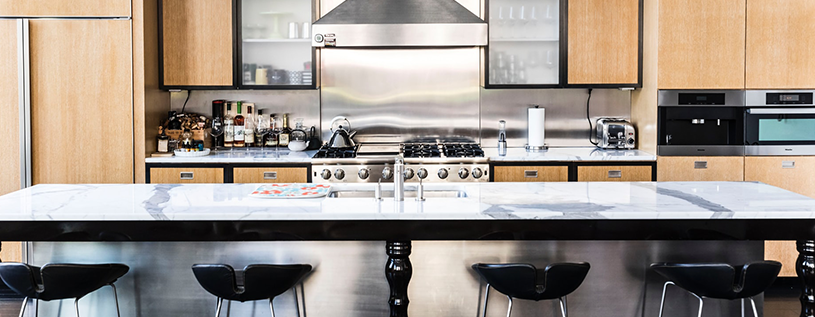
If you’re doing a renovation for your kitchen, there’s a high chance that you’d need to replace the drain assembly. While this process isn’t overly complicated, it depends on whether your new sink is different from the current one. If there are differences – such as the depth, for example, you may need to hire a professional to help with some alterations.
If the sink isn’t different, it should be a straightforward process, especially if you have some DIY plumbing skills. To get started, you should prepare all of your tools in advance. Some tools that you may need include pliers (preferably channel-type), a kitchen drain trap kit, and a hacksaw.
Figure out the height of your drain outlet
To start, you should check the drain outlet height – especially if you plan on replacing your sink with one that has a different height. You should measure the distance between the trap arm (horizontal piece behind the P-trap) to the bottom of your cabinet.
If the measurement indicates that the height is greater than 16-inches, you’ll have to make some adjustments as the new sink can’t accommodate the downward slope that’s needed for the trap arm. While you can cut the wall open on your own, it is a reasonably complicated job, so it’s best to seek the help of a professional. If you’re doing it on your own, you should leave sufficient space to allow for removing and cleaning the trap.
Installing under the sink components
Some sinks come with garbage disposal and strainer. If you have one of those, you’d want to install the disposal on one side and the basket strainer on the other side. You should also install any other under the sink items.
Fixing the continuous waste pipe and tailpiece
- You’ll start by temporarily installing the tailpiece and sink strainer with a slip nut.
- Then, connect the waste pipe (curved section) to the garbage disposal’s drain outlet temporarily. The straight part of the pipe should be longer than the tailpiece and have a slight downward slope.
- Then, you’re going to need to grab hold of the tee fitting and make a mark on both pipes on where it needs to be cut.
- Make the necessary cuts with your hacksaw.
- Once you’ve got the desired length, permanently install the tailpiece, pipe, and tee – making sure that the connections are tight. The continuous waste pipe should also have a slight downwards angle.
- Finally, you’ll use your pliers to tighten all slip nuts. Keep in mind that they shouldn’t be overly tight.
Connecting the drain tap
- Connect both the trap bend and arm (loosely is fine). You’d want to use a slip nut for this.
- Then, nudge the trap bend into the tee fitting and slide the trap arm in.
- Place the trap pieces so you’ve got the shortest path from the sink to the wall tee, the trap arm should also be sloping downwards slightly.
- If it’s too long, you’d want to mark your measurement and cut it before reinstalling the P-trap assembly.
- Make sure the slip nuts are tightened to a reasonable degree.
- Ensure that both the continuous waste pipe along the trap arm has a slight downwards slope.
- Finally, ensure that all drain connections are tight.
In this step, the trap must face the right direction. If it’s in the wrong direction, you’ll have to deal with leaks.
Make final checks
Finally, you’ll turn on the water and see if there are any leaks. Leaving a problem unattended could lead to more problems down the road and that’s why you’d need to tighten up the connections. To be 100% sure, you should also fill up the sink basins and check for leaks as it drains.
Don’t panic if you see some minor leaks, they’re usually from the joints of slip-nuts, and you’ll need to make some minor adjustments. If you do run into some significant issues, however, it’s best to have a professional plumber or plumbing service to help you out before the situation gets out of hand.


